Skip to content
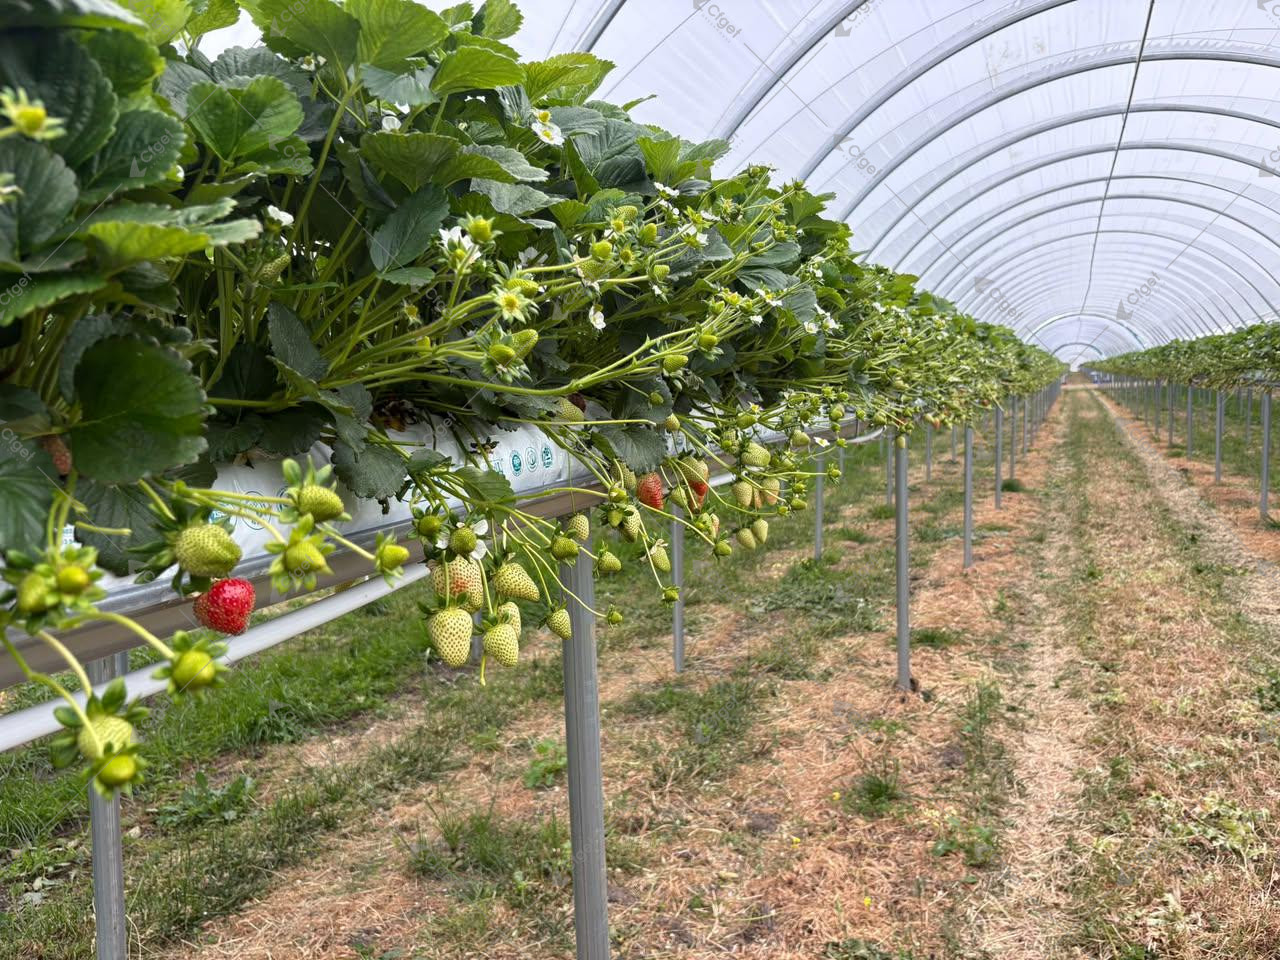
High humidity can destroy my cucumber crop fast. I see leaf wetness at night, disease spreads, and fruit quality drops. If I overreact, growth slows and yield falls.
In Dutch cucumber greenhouses, I prevent downy mildew by managing dew risk at night, not by chasing one RH number. I use a stable vent–heat routine, strong airflow, and clean scouting so leaves stay dry and production stays high.

Dutch cucumber benchmarks show why stability matters. In a Wageningen-designed Venlo experiment, cucumber production reached 120 kg/m² with good quality, and it also references around 95 kg/m² for an average Dutch high-wire grower context. ISHS Acta Horticulturae (Venlo cucumber experiment)<1>
I treat humidity control as a profit system, not a “weather problem.” If I keep my canopy dry and my climate steady, my crop stays predictable.
What humidity level should I target for greenhouse cucumbers in high-pressure disease seasons?
If I target “perfect RH,” I usually fail. Conditions change hourly. What matters is whether water condenses on leaves.
I target a humidity range that keeps foliage dry at night, and I watch dew point risk. Many official cucumber guidance notes that keeping RH roughly below 70–75% at normal greenhouse temperatures helps reduce downy mildew risk.

Dry leaves reduce infection chance.
In Ontario’s greenhouse cucumber downy mildew guidance, they stress purging moist air in the evening and keeping foliage dry, and they mention maintaining a maximum of about 70%–75% RH at normal greenhouse temperatures. Ontario.ca: Downy mildew of greenhouse cucumber<2>
Dew risk beats RH obsession
If my leaves are colder than the air, water can still condense even before RH hits 100%. That is why I track dew point and surface temperature risk. A government humidity-control guide explains that growers try to avoid humidity near the dew point because condensing water on plant surfaces can promote disease, and it notes how quickly dew point can be reached when RH is high. Government of British Columbia: Understanding Humidity Control (PDF)<3>
My simple target logic
I use this table with my team:
| What I monitor | What it tells me | My action |
|---|---|---|
| RH trend after sunset | how fast the house “wets up” | start earlier moisture purge |
| Dew point margin | real condensation risk | add airflow + small heat + vent |
| Leaf wetness signs at dawn | whether my night strategy worked | adjust last irrigation + purge timing |
If I consistently see wet leaves at dawn, I do not blame “bad weather.” I change my night routine.
What is the best night strategy to purge moisture without over-venting and chilling the crop?
Many growers vent too late. Then they panic. They dump cold air in. The crop gets shocked and still stays wet.
My best night strategy is early moisture purge, gentle heat support, and controlled venting that keeps the canopy above dew risk. I aim for small steady steps, not one big correction.

Step-by-step night routine
I use a repeatable pattern:
1) Stop late irrigation early enough
If my substrate is too wet at night, humidity rises fast. I taper irrigation earlier to avoid a wet canopy period.
2) Run constant airflow
Airflow breaks the boundary layer on leaves. It also reduces local cold spots.
3) Use short heat + vent pulses
Heat raises air capacity to hold moisture. Venting removes moist air. Doing both in small pulses avoids big temperature drops.
The dew point concept is the key. Even trade education from controlled-environment experts points out that condensation is tied to dew point and cold surfaces, not only “high RH.” Greenhouse Grower: condensation and dew point explanation<4>
My decision table for night control
| Night symptom | Likely reason | What I change first |
|---|---|---|
| Wet leaves at dawn | purge started too late | start purge earlier |
| RH jumps after last irrigation | last irrigation too late | stop earlier, smaller last pulses |
| Cold drafts on crop | vent too aggressive | smaller vent steps, more heat support |
| Disease hotspots in corners | airflow not uniform | rebalance fans, check obstructions |
If I get the night right, the next day becomes easier.
How do I identify downy mildew early and avoid confusing it with powdery mildew?
If I misidentify the disease, I waste time. Downy mildew can move fast. Powdery mildew is different and needs different urgency.
I identify downy mildew by checking the underside of leaves for signs that match downy mildew patterns, and I treat it as a prevention-first disease. I also keep scouting routines strict so I catch it before it spreads.

Inspect leaf undersides early and often.
Why prevention matters
Downy mildew is typically managed with prevention and rapid response because it can spread with favorable moisture conditions. A land-grant resource explains that outbreaks are most likely during mild, wet weather, and it encourages using the reporting maps for confirmed disease locations. Clemson Land-Grant Press: Cucurbit Downy Mildew Management<5>
Even when forecasting is limited, the disease status maps and confirmed reports still matter for risk awareness. The cucurbit downy mildew ipmPIPE site explains how the system tracks confirmed reports and provides epidemic status tools, even noting changes to forecasting support. CDM ipmPIPE: Forecasting / status information<6>
Don’t mix it with powdery mildew
Powdery mildew behaves differently. Cornell’s greenhouse disease guidance describes powdery mildew facts and the role of environment and management actions like ventilation and heating adjustments in reducing favorable conditions. Cornell Greenhouse: Powdery Mildew factsheet<7>
My scouting checklist
| What I check | Frequency | Why it matters |
|---|---|---|
| underside of older leaves | 2–3× per week | early signs often start low |
| humidity hotspots (corners, near doors) | weekly | microclimates drive outbreaks |
| first symptoms photo log | every find | helps correct ID and response |
Fast correct ID saves money and weeks of production.
Which greenhouse type and systems make humidity control easier for cucumbers in the Netherlands?
If the greenhouse structure fights me, my climate team loses every night. Good systems reduce the need for “hero moves.”
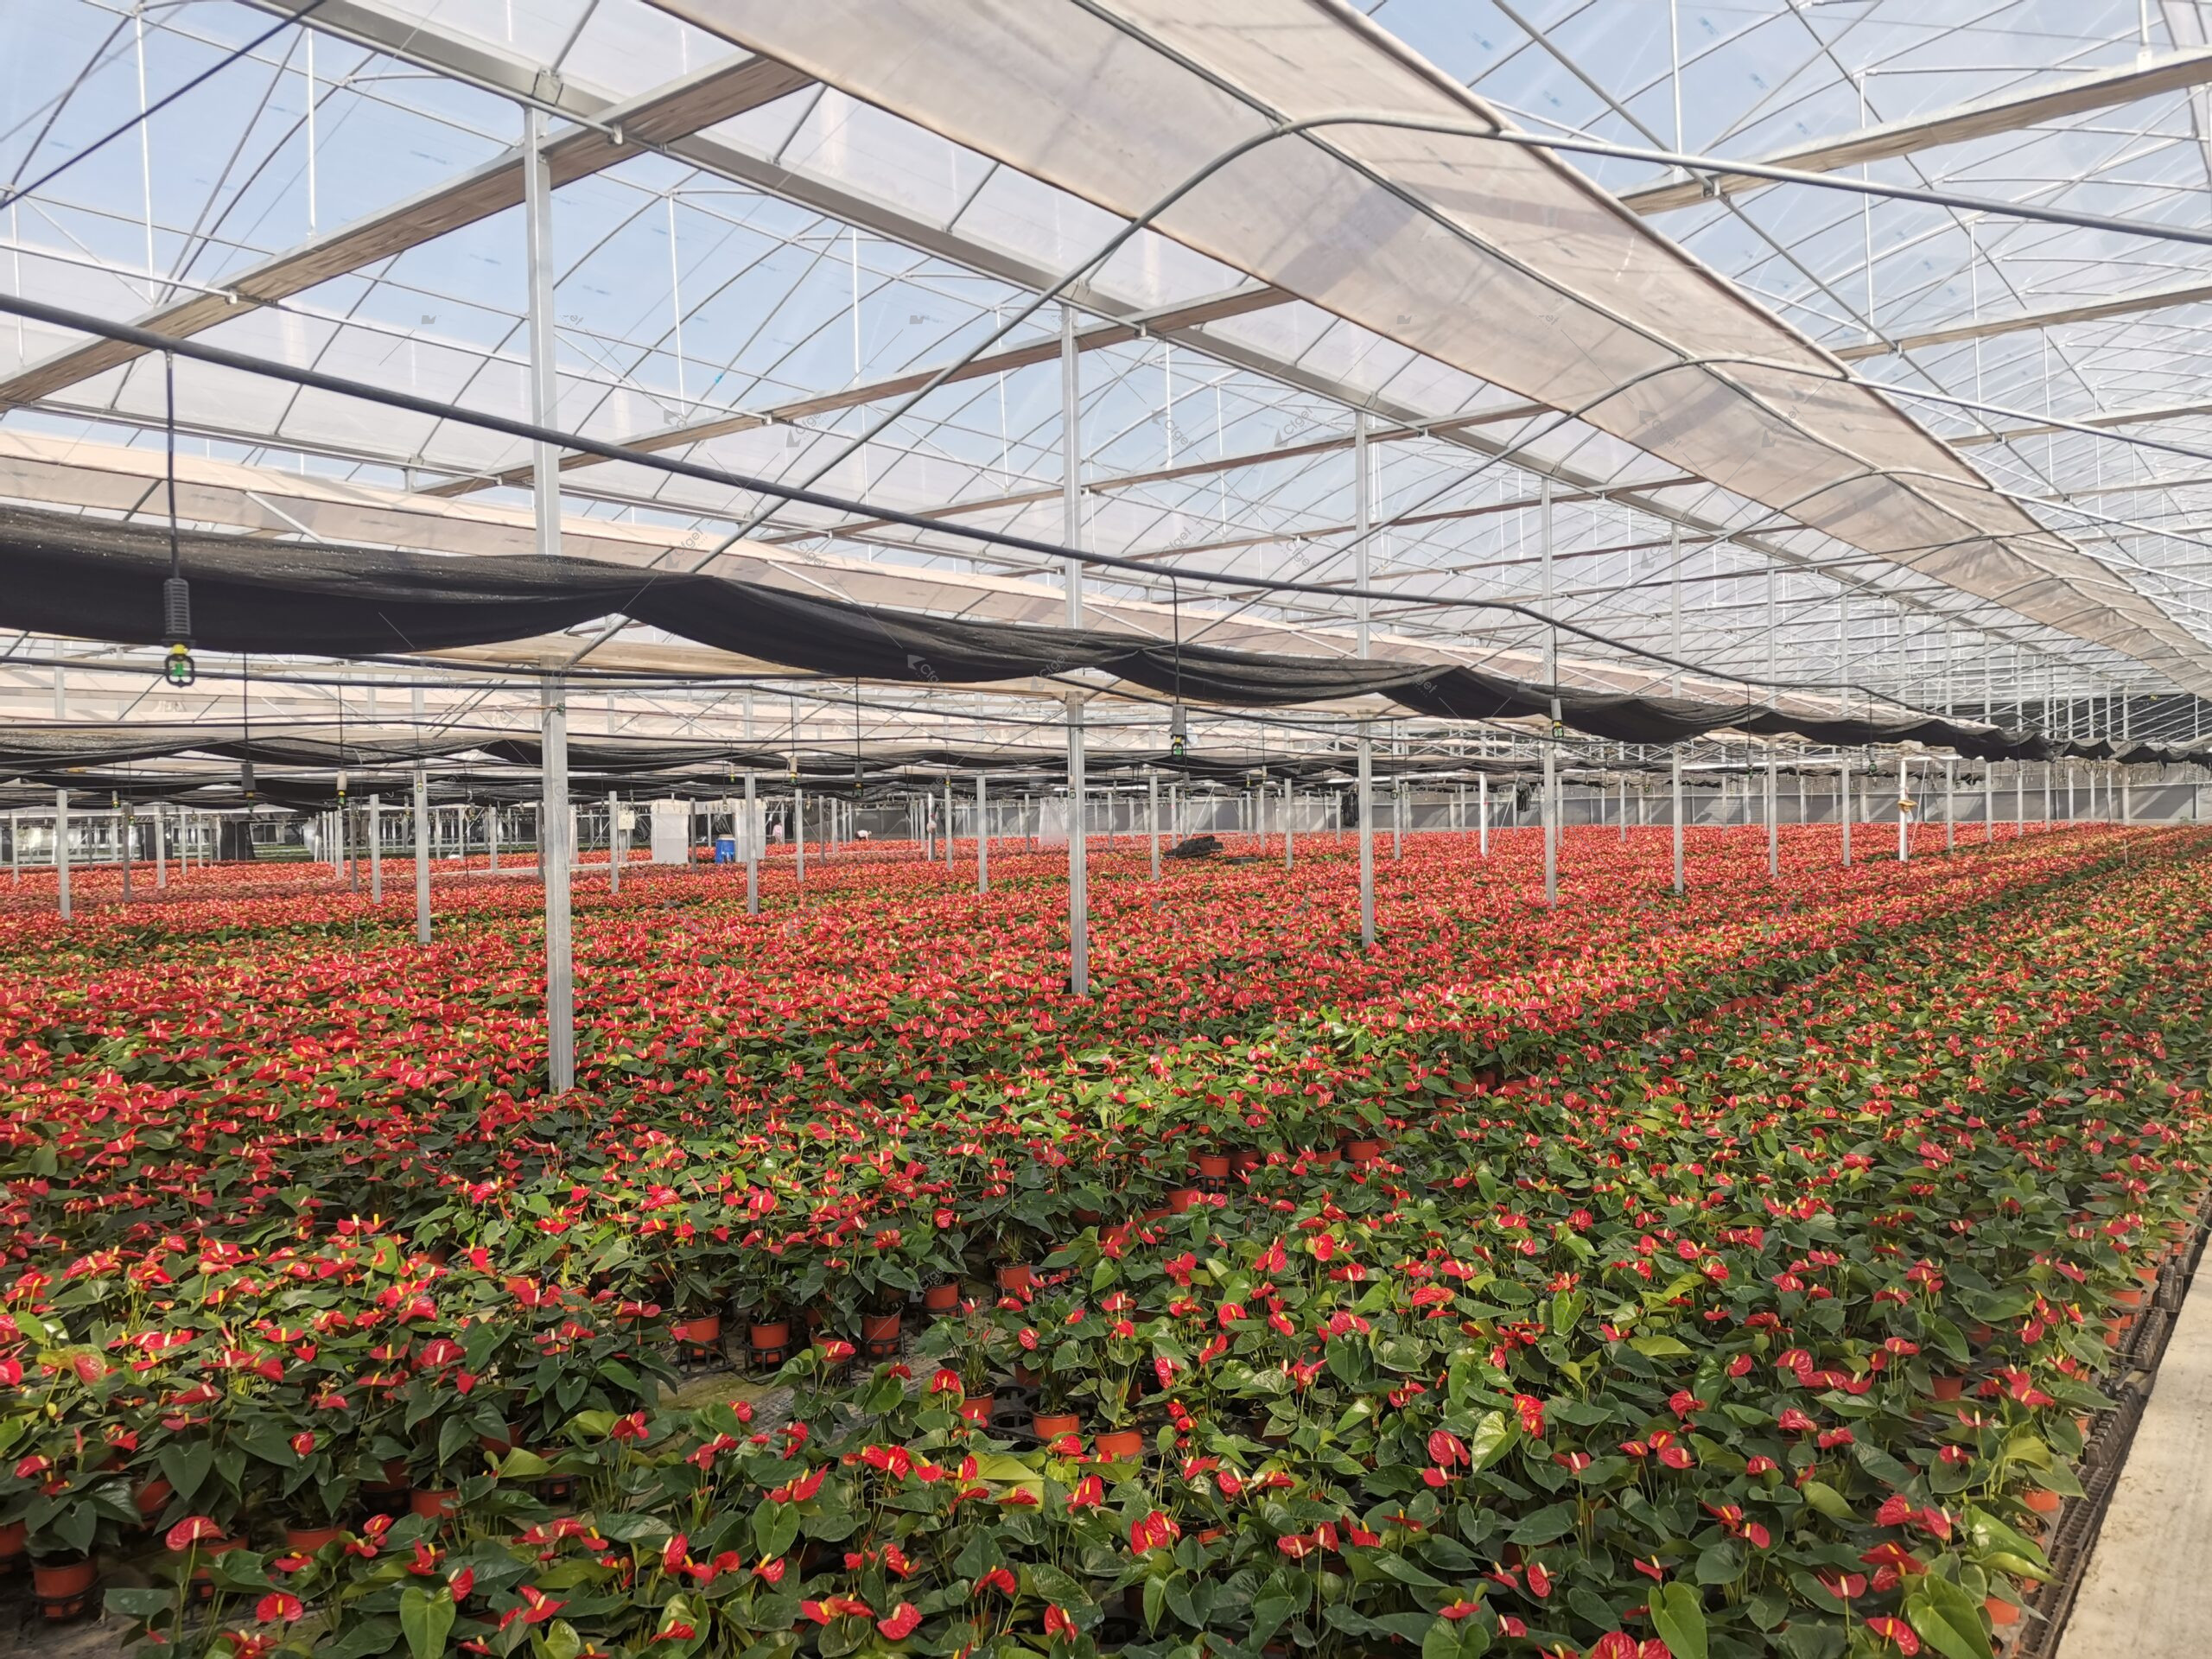
In the Netherlands, a Venlo glass greenhouse often makes humidity control easier because it supports strong ventilation geometry, tight sealing, and advanced screening. I also need dedicated humidity strategy tools, not just fans and vents.

Good structure makes humidity control predictable.
Wageningen’s Venlo cucumber experiment shows how design changes can improve light transmission and performance, and it reports the production and energy context that serious growers care about. Wageningen University & Research record<8>
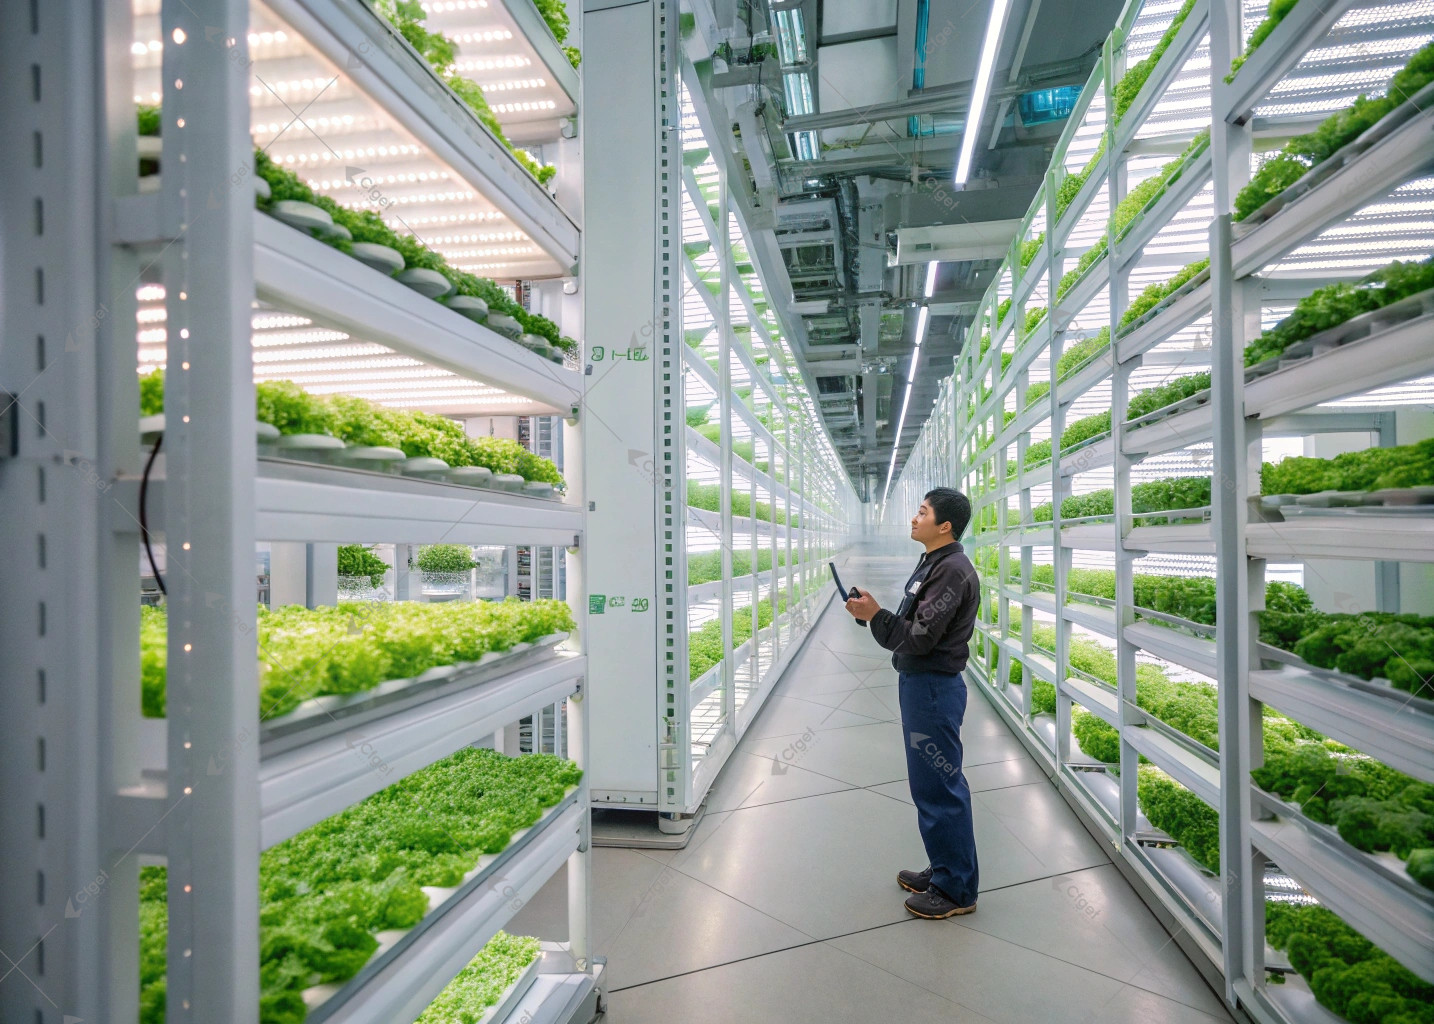
Structure + systems = control
I plan humidity control in three layers:
1) Structure layer
- good vent capacity
- good sealing
- uniform airflow paths
2) Climate layer
- screens that reduce night energy loss but still allow moisture strategy
- humidity management plan that includes ventilation and temperature steering
3) Crop layer
- canopy spacing and pruning that improves air movement
- irrigation timing that avoids wet nights
I also apply physical prevention for pests because pests often spread disease pressure and force extra spraying. CFGET’s system pages keep my internal planning consistent:
- https://cfgreenway.com/solutions/humidity/
- https://cfgreenway.com/solutions/temperature/
- https://cfgreenway.com/solutions/pest-barriers/
My build-choice table (practical)
| Option | Where it fits | Humidity-control strength | My note |
|---|---|---|---|
| Venlo glass | high-tech Dutch style | very strong | best for stable winter control |
| Multi-span film (well-designed) | cost-sensitive projects | medium to strong | needs excellent vent design |
| Polycarbonate | colder areas, insulation focus | medium | watch condensation risk carefully |
If I build for control, I spend less on rescue actions later.
Conclusion
I prevent cucumber downy mildew by managing dew risk, not by chasing one RH number. I use early night moisture purge, stable airflow, and controlled heat–vent steps. I scout fast and build a structure that supports real climate control.
External Links Footnotes (Authority Sources)
1> https://www.ishs.org/ishs-article/1296_70
<2> https://www.ontario.ca/page/downy-mildew-greenhouse-cucumber
<3> https://www2.gov.bc.ca/assets/gov/farming-natural-resources-and-industry/agriculture-and-seafood/animal-and-crops/crop-production/understanding_humidity_control.pdf
<4> https://www.greenhousegrower.com/production/why-condensation-can-occur-at-any-time-in-the-greenhouse/
<5> https://lgpress.clemson.edu/publication/cucurbit-downy-mildew-management/
<6> https://cdm.ipmpipe.org/forecasting/
<7> https://greenhouse.cornell.edu/pests-diseases/disease-factsheets/powdery-mildew/
<8> https://research.wur.nl/en/publications/increase-of-light-transmission-by-10-in-the-venlo-type-greenhouse/
—
## Internal References (CFGET)
– **CFGET Homepage**
– **Venlo Greenhouse**
– **Multi-span Film Greenhouse**
– **Polycarbonate Greenhouse**
– **Humidity Solutions**
– **Temperature Solutions**
– **Pest Barriers**
—
## Internal Blog References (Related CFGET Articles)
– **Commercial Greenhouse Types: Complete Guide to 20+ Designs from Basic to High-Tech**
Commercial Greenhouse Types: Complete Guide to 20+ Designs from Basic to High-Tech
– **Commercial Greenhouse Buyer’s Guide: 20+ Types, Costs & ROI Analysis**
Commercial Greenhouse Buyer’s Guide: 20+ Types, Costs & ROI Analysis
– **How to Set Up a Commercial Greenhouse: Essential Guide for Growers & Businesses?**
How to Set Up a Commercial Greenhouse: Essential Guide for Growers & Businesses?
– **Choosing an Irrigation System for Your Commercial Greenhouse: Comparing 6 Main Technologies (Cost, Efficiency, Suitability)**
– **Tropical Greenhouse Cooling Systems: Complete Guide to Hot Climate Agriculture**
https://cfgreenway.com/tropical-greenhouse-cooling-systems-complete-guide-to-hot-climate-agriculture/